| 1 | 2 | 3 | 4 | 5 | 6 | 7 | 8 |
| start & parts |
moisture sensor |
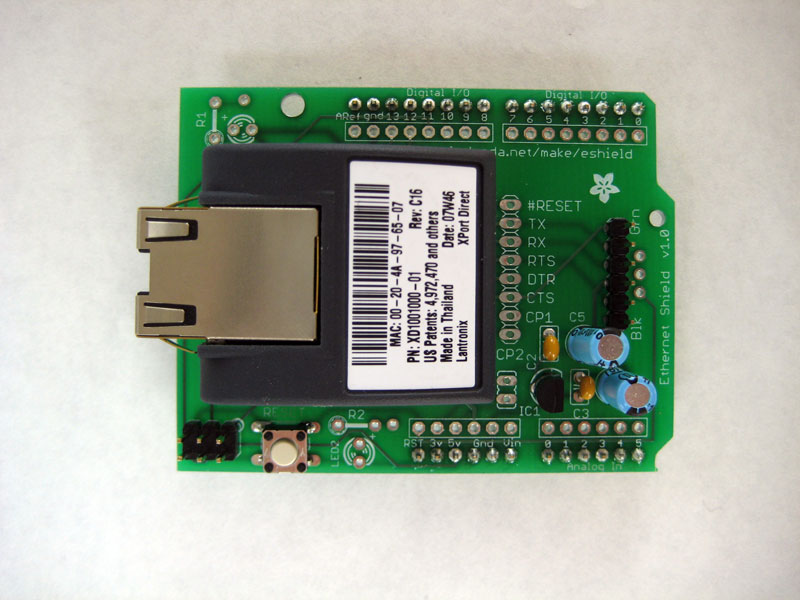
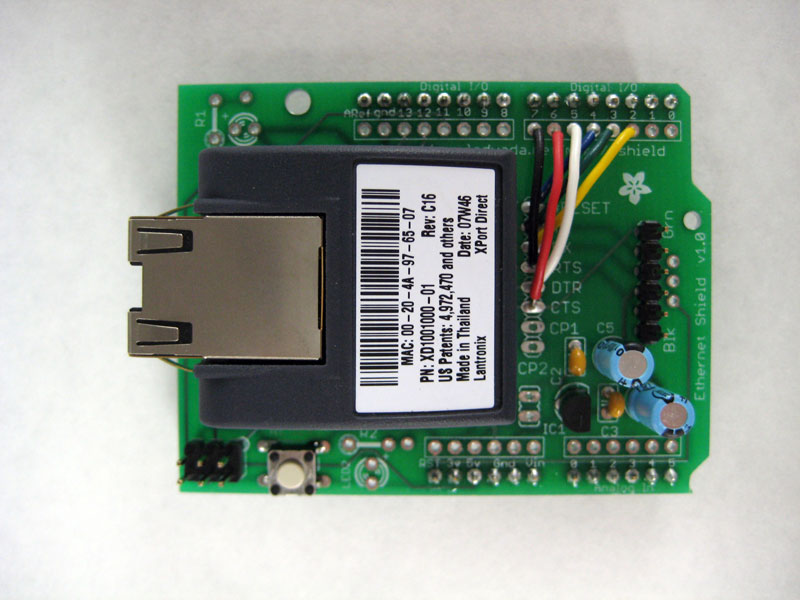
XPort Shield |
Proto Shield |
the sandwich |
software | going live |
share |
| 3 | XPort Shield
.
|
| Questions? Email: support [at] botanicalls [dot] com |
next step > |
These instructions are for the Botanicalls DIY Kit V1.0. This kit was for sale April - October 2008 and is no longer available. | |