XPort Leaf Kit: Customize
Hardware
The Botanicalls leaf-shaped printed circuit board is designed so that it’s attractive, simple, and easy to use. We keep the setup as simple as possible so that we can keep the price (relatively) low, but we understand that you may want to customize your hardware. If you’d like to see the innards of how the circuit board works, you can download the Eagle files here.

This work is licensed under a Creative Commons Attribution-Noncommercial-Share Alike 3.0 United States License.
Software: Changing and Updating Code
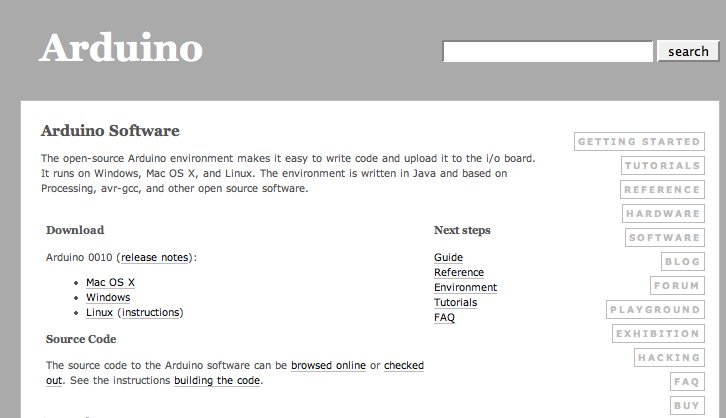
The Botanicalls code is written in Arduino. To make adjustments to the code, download the Arduino environment for your computer system from the Arduino site. Arduino is a free, cross-platform and open-source electronics prototyping system created and maintained by a worldwide network of physical computing enthusiasts.
Basic Code Update
UNPLUG THE POWER SUPPLY FROM THE BOARD, then hook up the FTDI cable to JP1, match the black wire to “blk” and the green wire to “grn” on the board.

- photo by Josh DiMauro

Download the most recent Botanicalls code and unzip the archive.
This work is licensed under a Creative Commons Attribution-Noncommercial-Share Alike 3.0 United States License.
You’ll want to use Arduino 0015 or greater to upload this code. The unzipped Botanicalls Twitter folder should be put in the Arduino documents directory (MyDocuments\Arduino on Windows or Documents:Arduino on the Mac). It will now appear when you select Sketchbook from the File menu in Arduino.
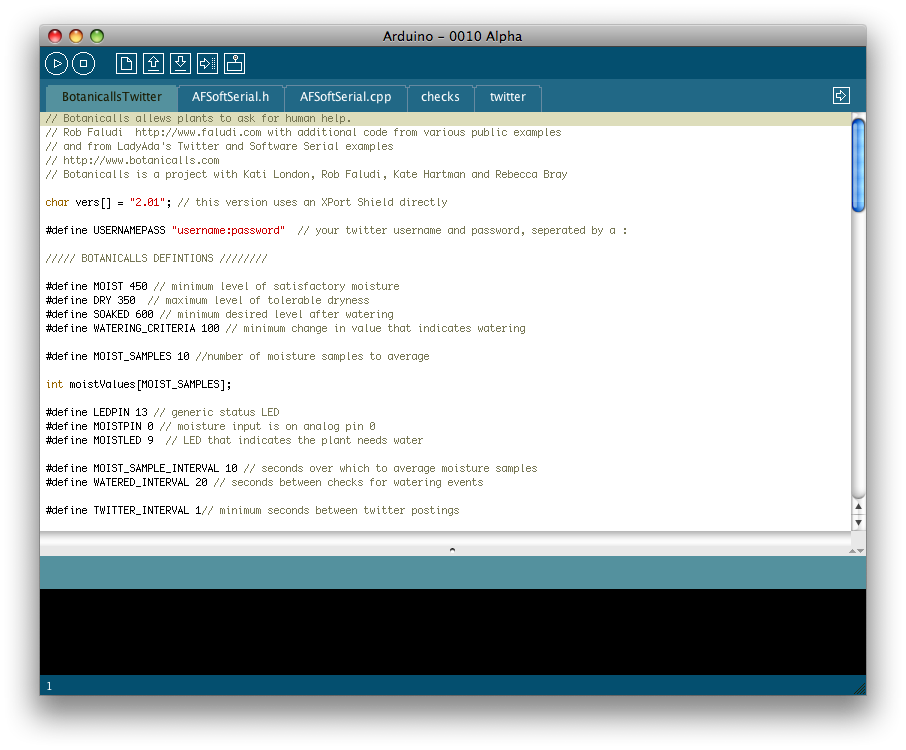
Open the BotanicallsTwitter sketch in Arduino. Update the line that begins with #define USERNAMEPASS “username:password” with the real username and password for your Twitter account, separated by a :
When you are ready to upload the code, select the correct serial port and NG board type on the Tools menu, then press the reset button on the board and select Upload to I/O Board from the File menu.
Once the code is uploaded, your system is ready to go. You can monitor the system with the Serial Monitor in Arduino at 9600 baud.
When you power up the system you should see a message “Botanicalls starting…” Next you will see a series of moisture readings, interspersed occasionally with a watering detection reading. By touching the nails together, you can simulate a high level of soil moisture. By moving them apart, you will simulate a high level of dryness. Use this procedure to test the sensor system.
Press the “TEST” button to manually send a Twitter with the current moisture level. Check the plant’s Twitter feed (http://twitter.com/username) to make sure that the Twitter has gone through successfully. If a Twitter message does not appear within a few minutes, recheck your power and Ethernet connections.
When the Botanicalls Kit has a message to send, you will see a series of Twitter connection messages in the Serial Monitor, followed by a long string of HTML responses. A final message will let you know if the twitter message was sent successfully or not. Check your Twitter account to see if the message arrived properly. If it did, feel free to do a little happy dance–you’ve made a Botanicalls!
Customize Twitter messages
Customize thresholds
The Botanicalls system operates based on a variety of moisture thresholds. These will vary by plant, soil composition and even your own personal horticultural style. Start with the default values, and adjust until you are happy with the system’s behaviors:
This line defines the value between 0 and 1023 below which the plant is in need of water:
- #define MOIST 450
- #define DRY 350
- #define SOAKED 600
- #define WATERING_CRITERIA 100
Assign a new Twitter account
Update the line that begins with #define USERNAMEPASS “username:password” with the real username and password for your Twitter account, separated by a :
Connectivity: Reconfigure your XPort
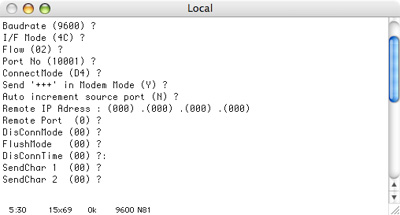
An XPort is a serial to ethernet device made by Lantronix. It allows the microcontroller on your leaf board to send messages out to the world wide web. There are many possible configurations for the XPort, but the units that are shipped with the Botanicalls Kit are preconfigured for the most settings that are most commonly needed for your network setup at home.
Confirming/Returning to original configurations
You’ll want to configure your XPort’s Channel 1 to use Flow 02 and ConnectMode D4. Use an FTDI cable connected to the J2 jumper to communicate with the XPort.
Check out the excellent XPort tutorial on LadyAda.net for more information on connecting with and setting up your XPort.
You also may want to reference the XPort User Guide on the Lantronix documentation web site.
New kits are here!

Categories
- Announcements (8)
- Press (5)
Pothos Plant Tweets
Flickr Feed
Meta

This work is licensed under a Creative Commons Attribution-Noncommercial-Share Alike 3.0 United States License.